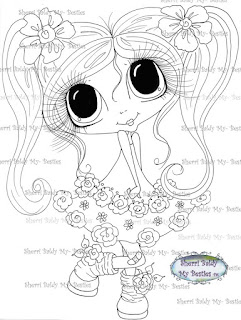
Did you know that every Saturday on Facebook My Besties Designs Color & Create that the SVG Design Team share some great ideas using Sherri's SVG files offered at her store?
Click
here to join us on Facebook!
Today i would like to show you a "tutorial" on how i created this card for our Saturday SVG on Facebook.
I used a beautiful Card topper that was originally colored by Sherri that i turned into a 3D.
Click
here for the card topper.

Do you love 3D and printables??? We have a wonderful My Besties Challenge where you can win 3D or printables from Sherri Baldy's store just by entering your card!
Click here for the My Besties 3D challenge!
My Besties 3D is looking for some new designers you can also click here to apply!
Let me show you how i created the card above using the Silhouette Cameo:
Supplies needed:
SVGs from Sherri's My Besties Shop
click on the SVG or printables to see the products in the store*
Cream cardstock
White cardstock
Light aqua designer paper
Tim Holtz stars
Stampendous Shaved Ice Glitter
Pink Sequins
Step one:
Using the Card shape bring it into the Silhouette and offset the card base. Copy and weld the two together to make your folded card base.
Step two:
Cut out the Card Shape in the colors shown. (i did not change any size settings)
Step three:
Layer your card sections and put on top of the folded card base as shown. (Tip- I put the tape on the card base and then place the card layers on top.
Step four:
Cut out the Window with the tree. i used the erase button to make just the tree by erasing the window. I reduced the size twice to create the layers.
Step 5
Add your window layers to the card base layers. I used foam tape on the cream tree and the smallest tree to give a bit of dimension to the trees.
I added the star gems from Tim Holtz.
Thanks for stopping by!
and to see beautiful My Besties handmade cards & more!
Shop for Sherri's My Besties product at her stores online:
or at her Etsy Store here.


